
The problem, in plain terms
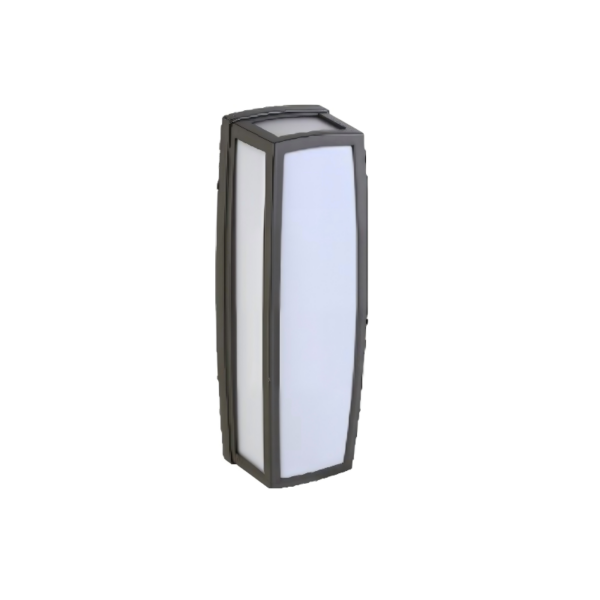
Outdoor lighting solves safety and wayfinding, but poorly specified fixtures create skyglow, glare, and wasted energy. Cities, campuses, and residential neighborhoods often default to bright, unshielded fixtures that scatter light upward and across streets. The result: disrupted ecosystems, obscured night skies, and higher utility bills. To tackle this, a focused, problem-driven roadmap helps teams replace scatter-prone units with precision-shielded options like the led outdoor wall sconce that direct light where it’s needed.
Why this matters — real-world anchor
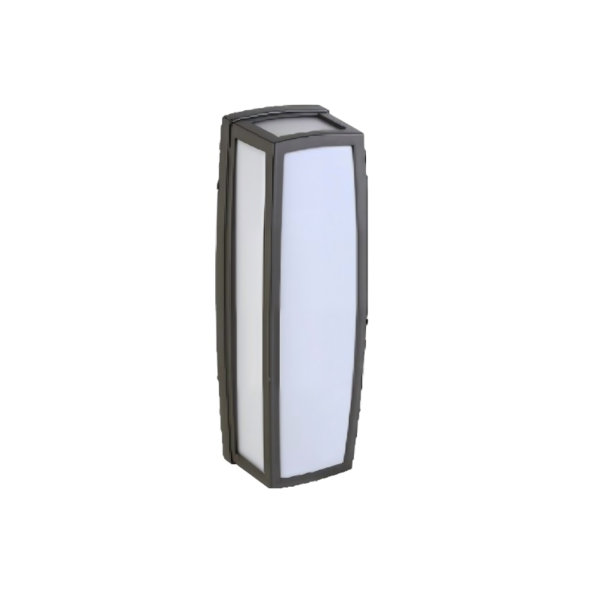
Light pollution is measurable and consequential. A broadly cited 2016 global study reports that more than 80% of the world’s population lives under light-polluted skies; meanwhile Flagstaff, Arizona — the world’s first International Dark Sky City — shows how policy and fixture choice can preserve night-sky visibility. Those examples show the problem and the solution at city scale: targeted fixture selection and lighting policy reduce skyglow while keeping streets safe.
Step-by-step roadmap to eliminate light pollution (Instructional clarity)
Follow these steps in sequence. Each step is practical and testable.
1) Audit existing lighting. Record fixture types, wattages, mounting heights, and CCT. Note where uplight or unshielded fixtures exist, and measure baseline night-sky brightness if possible. 2) Set performance targets. Choose maximum CCT (3000K or lower is recommended for dark-sky goals), lumen caps per fixture, and glare limits. 3) Prioritize high-impact swaps. Replace unshielded, high-lumen wall fixtures first — they often contribute most to skyglow. 4) Specify precision shielding and full-cutoff optics. Use fixtures that eliminate upward light and control horizontal spill. 5) Add controls: dimmers, motion sensors, and time schedules to reduce unnecessary operating hours. 6) Pilot, verify, scale. Install a pilot run, measure results, refine specs, then roll out across the site.
Selecting the right fixture: what to look for
When you shop, evaluate three technical features: cutoff optics, correlated color temperature (CCT), and lumen output. A true full-cutoff fixture directs no light above the horizontal plane; that’s the easiest way to stop skyward scatter. Keep CCT at or below 3000K to reduce blue-rich light that scatters more in the atmosphere. Finally, match lumen output to the task — overlighting is common and avoidable. Look for fixtures with integrated shielding and tight beam control rather than decorative flow-through designs that leak uplight.
Installation details that matter
Proper mounting and aiming are as important as the fixture itself. Mount at heights that meet the intended coverage without excessive lumen levels, and aim to avoid indirect reflections off nearby facades. Consider baffles and louvers where direct control is challenging. And—don’t forget—verify the installed color rendering and glare on-site; specs can look great on paper but feel harsh in practice.
Controls and commissioning: save energy, reduce nightsky impact
Controls multiply the benefit. Time-switching and astronomical timers reduce overnight operation. Motion-activated dimming keeps lights low until presence is detected. Commissioning is essential: document final settings, log sensor behavior, and create a maintenance schedule to ensure shields and lenses stay clean (dirty optics scatter more light and reduce efficacy).
Common mistakes and how to avoid them
Teams often make three recurring errors: choosing too high a CCT, assuming decorative fixtures meet dark-sky goals, and skipping pilot verification. Decorative fixtures can look attractive but still be noncompliant if they allow uplight. Don’t assume “LED” equals efficient or dark-sky-friendly; specify optics and shielding explicitly. A short pilot run with a trusted model of led outdoor wall light helps validate subjective qualities like glare and color before committing to site-wide procurement — and it avoids costly rework.
Measuring success and community alignment
Measure outcomes with clear metrics: reduction in skyglow (if you can measure it), energy savings (kWh and cost), and light trespass complaints. Engage stakeholders early — residents, parks managers, local astronomy groups — to build acceptance. Where possible, align with local dark-sky ordinances or voluntary guidelines and document compliance for future maintenance and procurement decisions.
Advisory — three critical evaluation metrics
Use these three golden rules when vetting fixtures and suppliers:
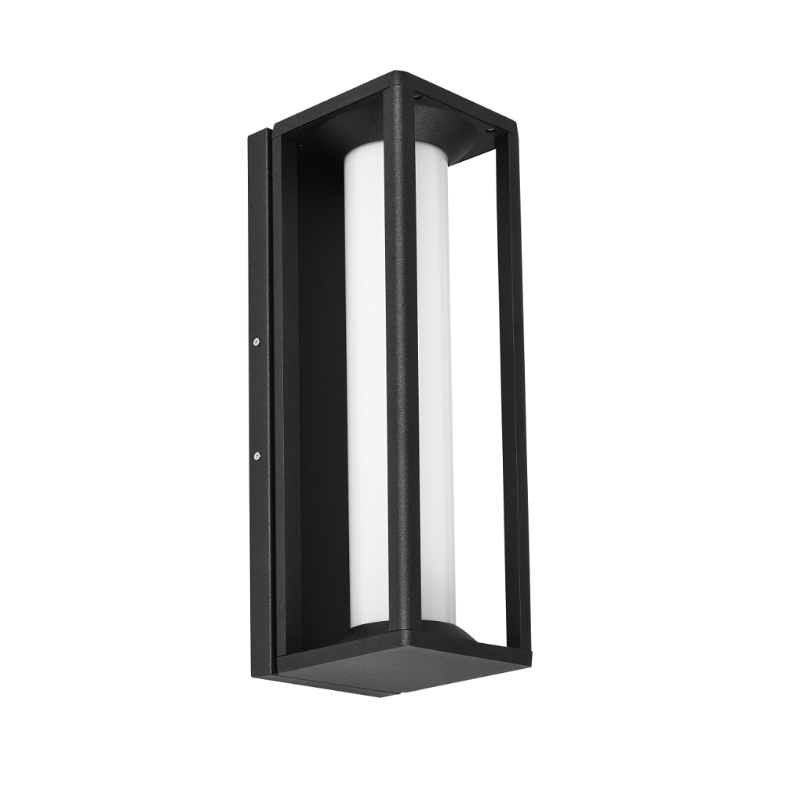
1) Optical control score: Confirm the fixture’s cutoff rating and beam distribution reports — choose full-cutoff designs for any wall-mounted fixtures adjacent to open sky. 2) Operational spectrum: Require CCT ≤3000K and review spectral power distribution to minimize blue light. 3) Lifecycle cost: Compare initial cost plus expected energy use, control savings, maintenance, and replacement intervals — don’t judge by sticker price alone.
Follow this plan, and you reduce glare, protect nocturnal habitats, and cut energy waste — measurable benefits that planners and residents can see. Keyida fits naturally into this approach by offering fixtures and optics that prioritize cutoff and controllability. —