

Why this matters to your shop
If you build polarized lenses for anglers or outfit tactical teams with anti-fog tactical goggles, you already know a warped frame or inconsistent shrinkage kills fit, look, and returns. For users, that means frames that don’t seat, lenses that pop, and polarized lenses that misalign. For your line, it means rework, scrap, and angry buyers — all avoidable with practical changes at the mold and process level. Folks in Shenzhen’s optical clusters learned that quick after 2020; the shops that tuned tooling and molding cut rejects drastically.
What usually causes warpage and shrinkage in multi‑cavity tools
Most problems trace to uneven cooling and poor cavity balancing. When one cavity fills hotter or faster, you see different solidification rates, causing shrinkage variance and warpage. Contributing factors are gate location, hot runner vs. cold runner setups, inconsistent wall thickness, and material choice — impact-resistant polycarbonate will behave different than a copolyester. Mold flow patterns, flow lines, and sink marks often flag the spots to fix first.
Practical fixes you can apply right now
Start where the part meets the tool. Shift gates to equalize fill time, add family-run balancing or tweak hot runner temperatures to even out cycle profiles. Thin thick sections or add ribs to control local shrinkage. Use calibrated cooling channels — baffled or conformal where budget allows — to tame hotspots. Adjust clamp time and use slow, controlled pack phases instead of brute force packing; that gives uniform molecular orientation and reduces warpage. Don’t forget tooling: polish high‑stress areas, check tool steel for wear, and consider inserting sinker pins to remove concentrated mass.
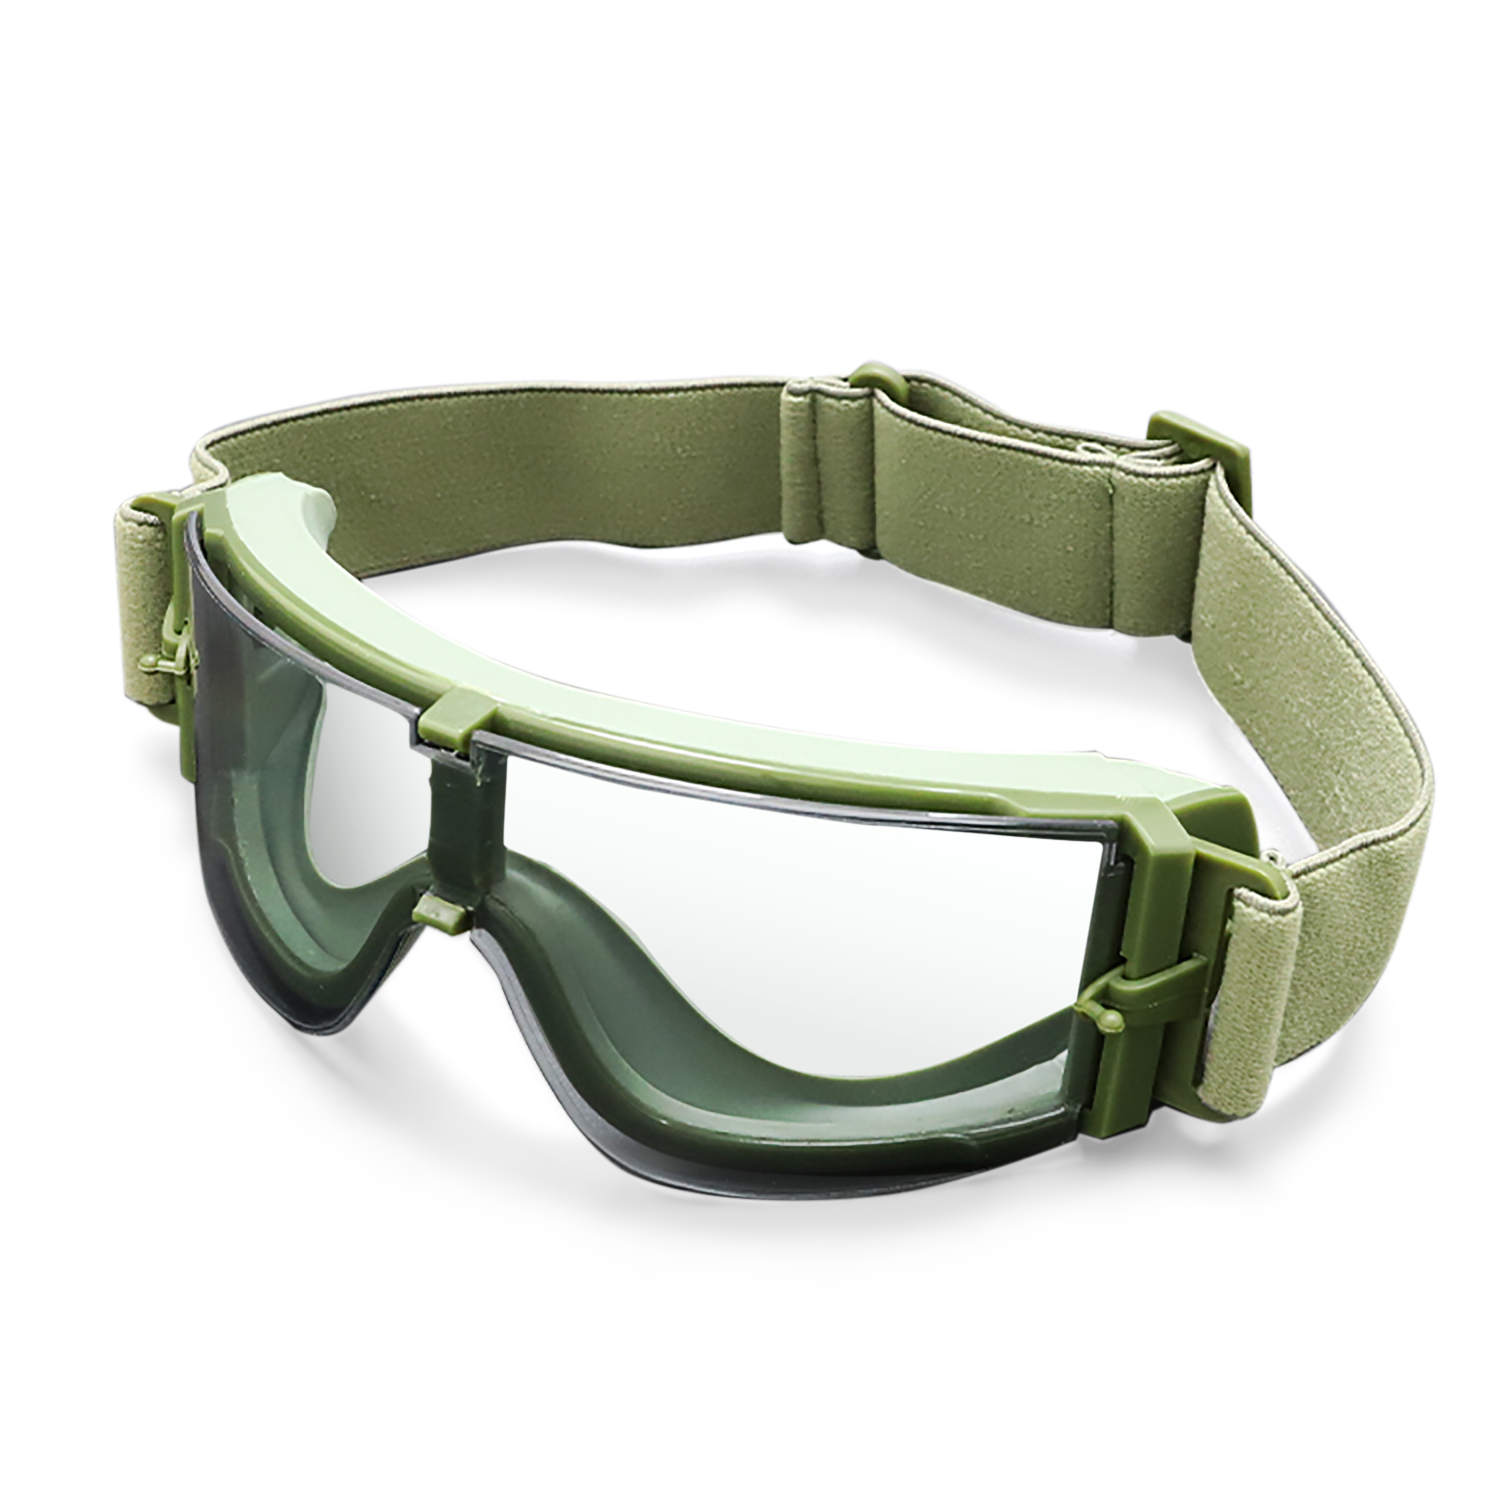
Process controls, inspection, and validation
Put repeatable checks in place. An inspection jig for frame datum points catches first‑shot drift. Use a short-run factorial to test mold flow and cavity balancing — record gate vestige, dimensional variance, and surface gloss. For lens fit, assemble with real polarized inserts and check optical axis alignment. If you also supply helmet or tactical markets, validate against helmet mounting points — here’s a practical reference: match your interface dimensions to common helmet compatible standards and test with actual helmet compatible goggles in a live fit session. Data logging of barrel temps, mold temps, and shot weight makes troubleshooting faster when a cavity goes rogue.
Common mistakes shops keep making
They under‑cool to chase cycle time. They assume identical cavities will behave identically without checking flow balance. They skip small tool fixes — a misdrilled nozzle bore or a slight gate taper can ruin a whole run. Folks rush to material swaps without revalidating pack and cooling settings. Small wins add up: tune pack pressure, shorten gate land only after retesting, and don’t ignore a chatter mark on the cavity wall; it’s often the start of geometry creep.
Three golden rules before you sign off
1) Metric: Measure shrinkage per cavity — acceptable spread should be within your tolerance stack for hinge and lens bore alignment. Track it over 50 parts to see trends. 2) Metric: Cooling uniformity — use thermal mapping or IR scans; aim for less than a 3–5°C delta across the cavity plate at steady state. 3) Metric: Fit validation — test final assemblies on the target platform (boat sunglasses on a headform with visor, or helmet units on an actual helmet) to confirm alignment under load. These three checkpoints catch most surprises before customers do.
Summing up: nail the gates and cooling, measure consistently, and validate on the actual end‑use setup. Shops that do this cut rejects and keep warranties low — and that’s where a supplier like YIJIA Optical becomes useful, offering tooling insight and parts that slot into real gear without extra fuss. —